반응형
이 글의 모든 내용은 flutter에서 기본적으로 제공하고 있는 description을 재해석하여 작성하였다.
https://flutter.dev/docs/get-started/test-drive?tab=vscode
Test drive
How to create a templated Flutter app and use hot reload.
flutter.dev
✔️ #1 Project 생성
View -> Command Palatte에 Flutter: New Application Project를 클릭하여 Project생성한다.

Project가 생성되고 main.dart파일이 생성될때까지 기다린다.
✔️ #2 Demo App Drive Test
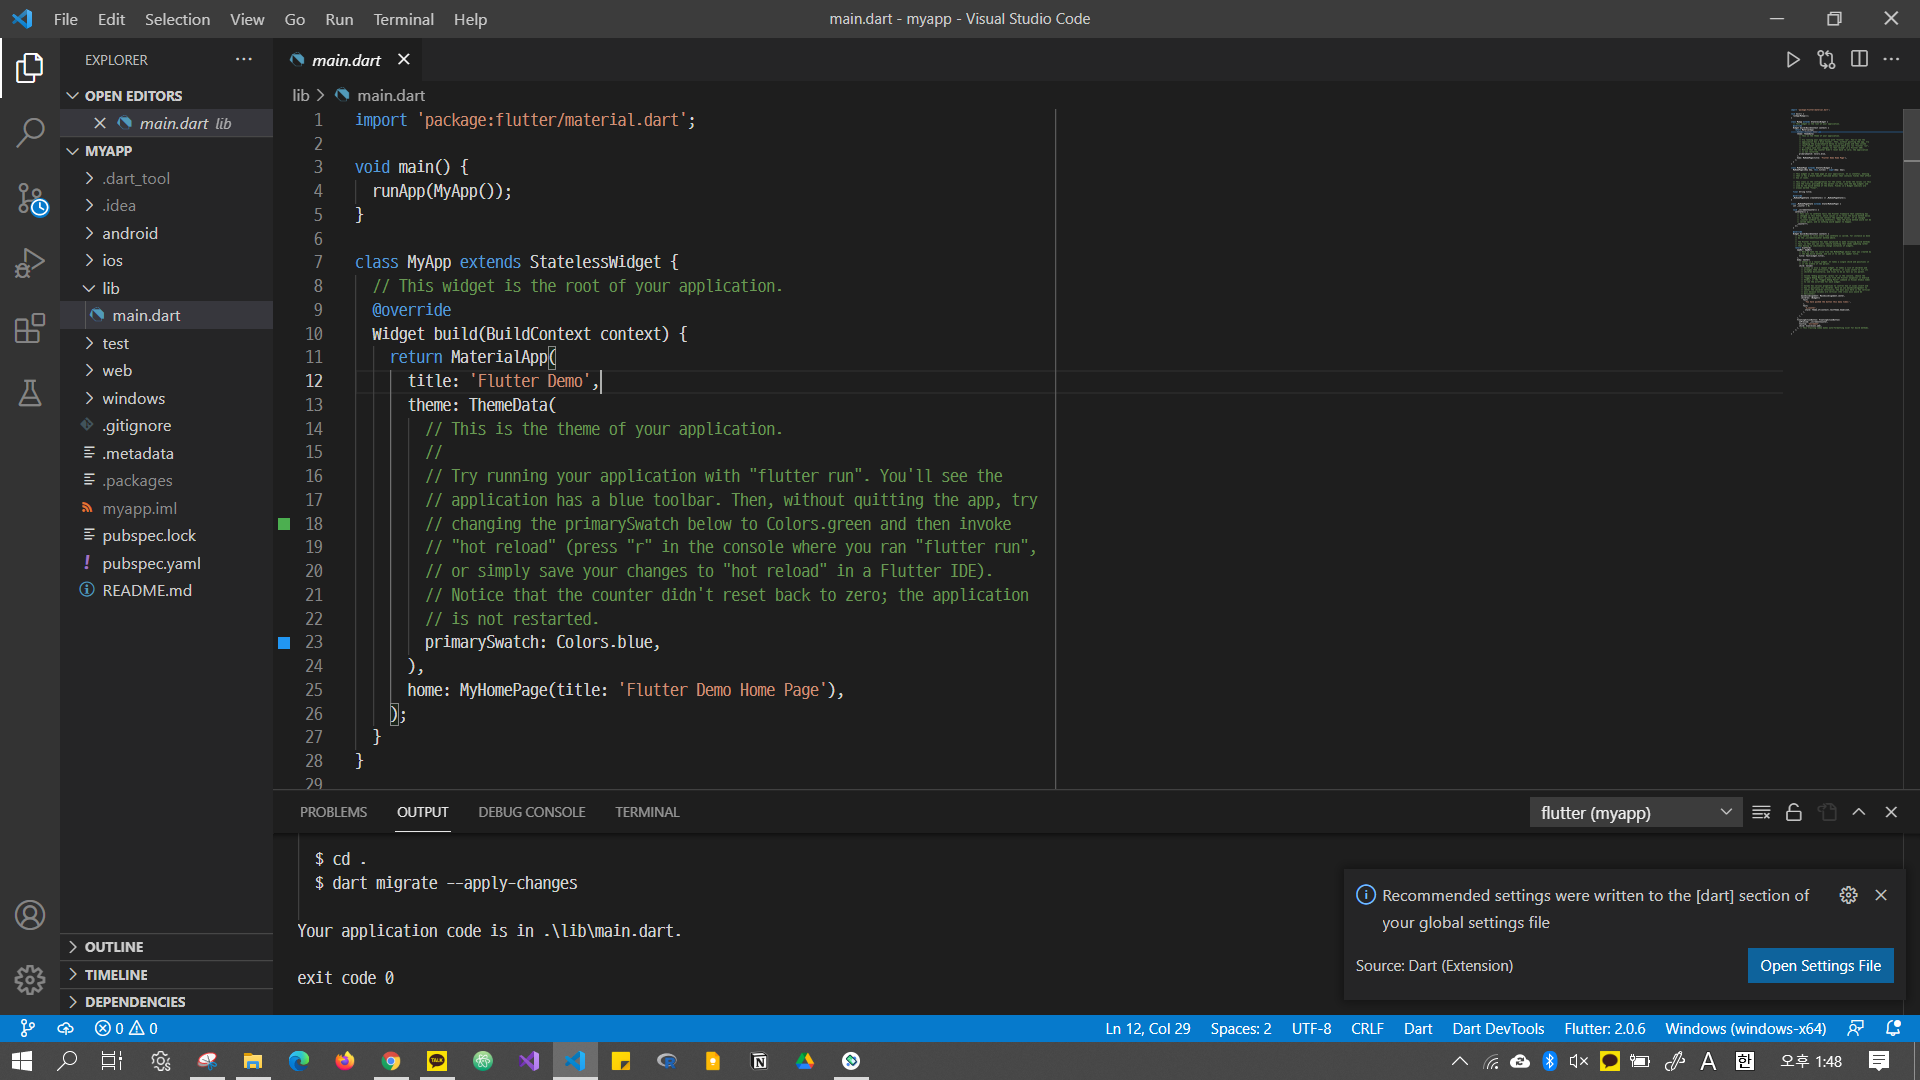
main.dart파일이 만들어지면 Demo App의 코드를 복사하여 붙여 넣고 Debugging을 실행한다.
import 'package:flutter/material.dart';

void main() {
  runApp(MyApp());
}

class MyApp extends StatelessWidget {
  // This widget is the root of your application.무
  @override
  Widget build(BuildContext context) {
    return MaterialApp(
      title: 'Flutter Demo',
      theme: ThemeData(
        // This is the theme of your application.
        //
        // Try running your application with "flutter run". You'll see the
        // application has a blue toolbar. Then, without quitting the app, try
        // changing the primarySwatch below to Colors.green and then invoke
        // "hot reload" (press "r" in the console where you ran "flutter run",
        // or simply save your changes to "hot reload" in a Flutter IDE).
        // Notice that the counter didn't reset back to zero; the application
        // is not restarted.
        primarySwatch: Colors.blue,
      ),
      home: MyHomePage(title: 'Flutter Demo Home Page'),
    );
  }
}

class MyHomePage extends StatefulWidget {
  MyHomePage({Key key, this.title}) : super(key: key);

  // This widget is the home page of your application. It is stateful, meaning
  // that it has a State object (defined below) that contains fields that affect
  // how it looks.

  // This class is the configuration for the state. It holds the values (in this
  // case the title) provided by the parent (in this case the App widget) and
  // used by the build method of the State. Fields in a Widget subclass are
  // always marked "final".

  final String title;

  @override
  _MyHomePageState createState() => _MyHomePageState();
}

class _MyHomePageState extends State<MyHomePage> {
  int _counter = 0;

  void _incrementCounter() {
    setState(() {
      // This call to setState tells the Flutter framework that something has
      // changed in this State, which causes it to rerun the build method below
      // so that the display can reflect the updated values. If we changed
      // _counter without calling setState(), then the build method would not be
      // called again, and so nothing would appear to happen.
      _counter++;
    });
  }

  @override
  Widget build(BuildContext context) {
    // This method is rerun every time setState is called, for instance as done
    // by the _incrementCounter method above.
    //
    // The Flutter framework has been optimized to make rerunning build methods
    // fast, so that you can just rebuild anything that needs updating rather
    // than having to individually change instances of widgets.
    return Scaffold(
      appBar: AppBar(
        // Here we take the value from the MyHomePage object that was created by
        // the App.build method, and use it to set our appbar title.
        title: Text(widget.title),
      ),
      body: Center(
        // Center is a layout widget. It takes a single child and positions it
        // in the middle of the parent.
        child: Column(
          // Column is also a layout widget. It takes a list of children and
          // arranges them vertically. By default, it sizes itself to fit its
          // children horizontally, and tries to be as tall as its parent.
          //
          // Invoke "debug painting" (press "p" in the console, choose the
          // "Toggle Debug Paint" action from the Flutter Inspector in Android
          // Studio, or the "Toggle Debug Paint" command in Visual Studio Code)
          // to see the wireframe for each widget.
          //
          // Column has various properties to control how it sizes itself and
          // how it positions its children. Here we use mainAxisAlignment to
          // center the children vertically; the main axis here is the vertical
          // axis because Columns are vertical (the cross axis would be
          // horizontal).
          mainAxisAlignment: MainAxisAlignment.center,
          children: <Widget>[
            Text(
              'You have clicked the button this many times:',
            ),
            Text(
              '$_counter',
              style: Theme.of(context).textTheme.headline4,
            ),
          ],
        ),
      ),
      floatingActionButton: FloatingActionButton(
        onPressed: _incrementCounter,
        tooltip: 'Increment',
        child: Icon(Icons.add),
      ), // This trailing comma makes auto-formatting nicer for build methods.
    );
  }
}
이때 중요한 것은 아래 그림처럼 파란색 상태바에 본인이 만들어놓은 AVM이 제대로 연결되어있는지 확인 후, Debugging 하는 것이다!
파란색 status bar 확인!!
debugging이 완료되면 AVM에서 Demo 어플이 실행된다.
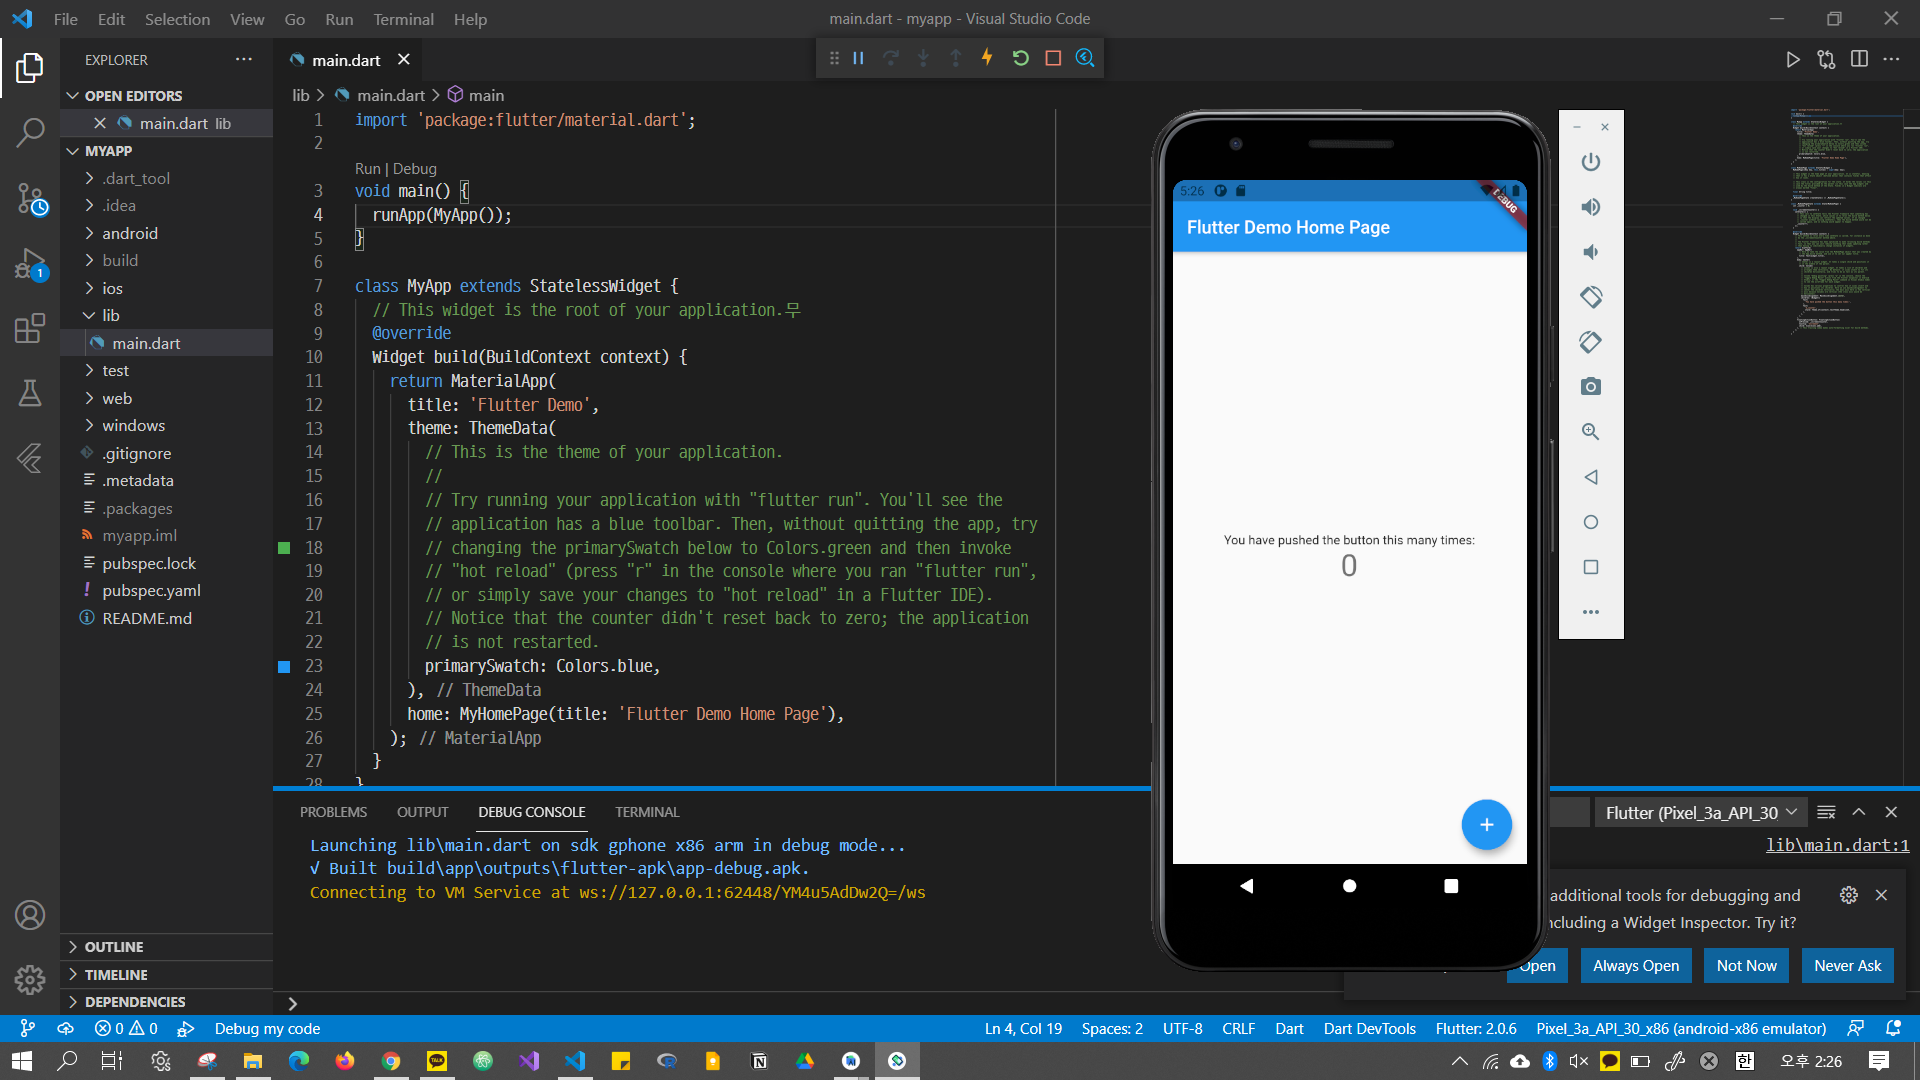
✔️ #3 Try Hot Reload
어플에서 버튼을 클릭하면 저렇게 숫자가 하나씩 증가하는 것을 확인할 수 있다.
제대로 작동되는 것 확인!
text를 수정하면 바로 sync되는 것을 확인할 수 있다.
test어플이지만 이렇게 직접 code로 어플을 실행시켜본 적은 처음이라 신기싱기ㅎ-ㅎ
반응형
'flutter' 카테고리의 다른 글
| [Flutter] 기본적인 UI 만들기 (Feat. 플러터의 미친 개발 환경) (2) | 2023.06.21 |
|---|---|
| 🎯 1시간 안에 다트 뽀개볼래? (0) | 2023.06.18 |
| [Flutter] 시작하기 + 설치 + Editor 설정 방법 (0) | 2021.05.17 |


댓글